Slack integration
Slack is an instant messaging and collaboration platform.
There are two ways to build interactions between Slack and Windmill: run code on Windmill by a Slack command or use the Slack API directly from Windmill. In this guide, we'll cover both approaches.
Action on Windmill from Slack
The goal here is to be able to invoke a Windmill Script from Slack, by using
/windmill command.
First, you need to be a workspace admin. Then you should go to
Workspace Settings Page
and select the "Slack Command" tab. On there, click "Connect to Slack".
The Slack integration is done through OAuth. On self-hosted instances, integrating an OAuth API will require Setup OAuth and SSO.
Slack will ask you to allow Windmill to access your workspace. Click "Allow".
At the time of writing, Slack cautions that Windmill is not an approved app. We are working on getting the app approved but you can safely ignore it for now.
You can connect multiple Windmill workspaces to the same Slack workspace. Only one Windmill workspace can accept the /windmill commands from a given Slack workspace. This feature is mostly useful for the error handler.
Using commands on Slack
Once you allow access, you will be redirected to the Slack settings in Windmill. We'll create a command handler Script first, so let's click "Create a script to handle Slack command".
You will be navigated to the Script editor. Give your script a name
(e.g. slack_command_handler), a short summary (e.g. "Slack command handler"). You'll get to this template:
export async function main(response_url: string, text: string) {
	const x = await fetch(response_url, {
		method: 'POST',
		body: JSON.stringify({ text: `ROGER ${text}` })
	});
	const username = await Deno.env.get('WM_USERNAME');
	console.log(`user = ${username}`);
}
After the Script is deployed, navigate back to the
Slack settings
Choose the "Script" option for adding a command handler and select your newly created Script.
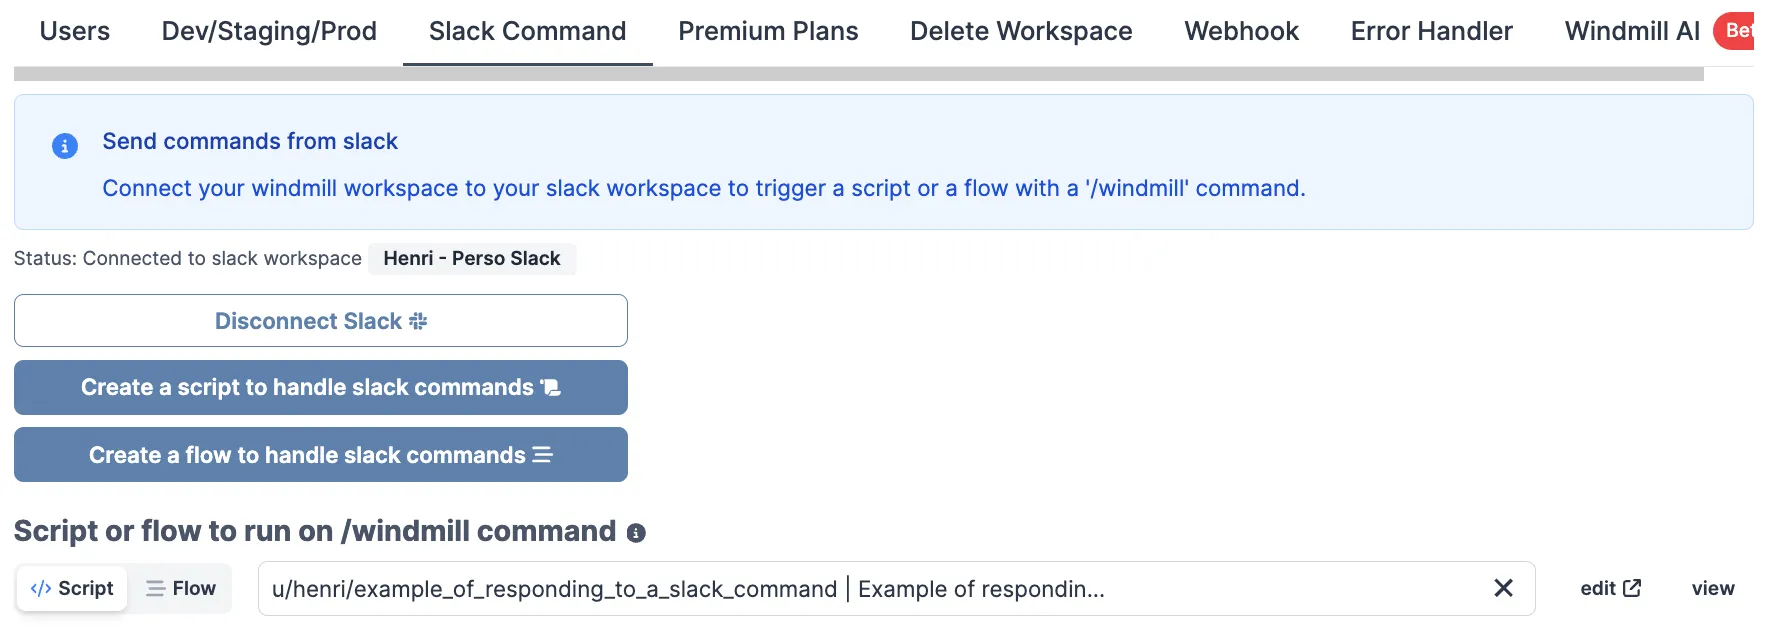
Congratulations! You've just created a Slack command handler. Now you can use
the /windmill command in your Slack workspace to trigger the Script. Try it
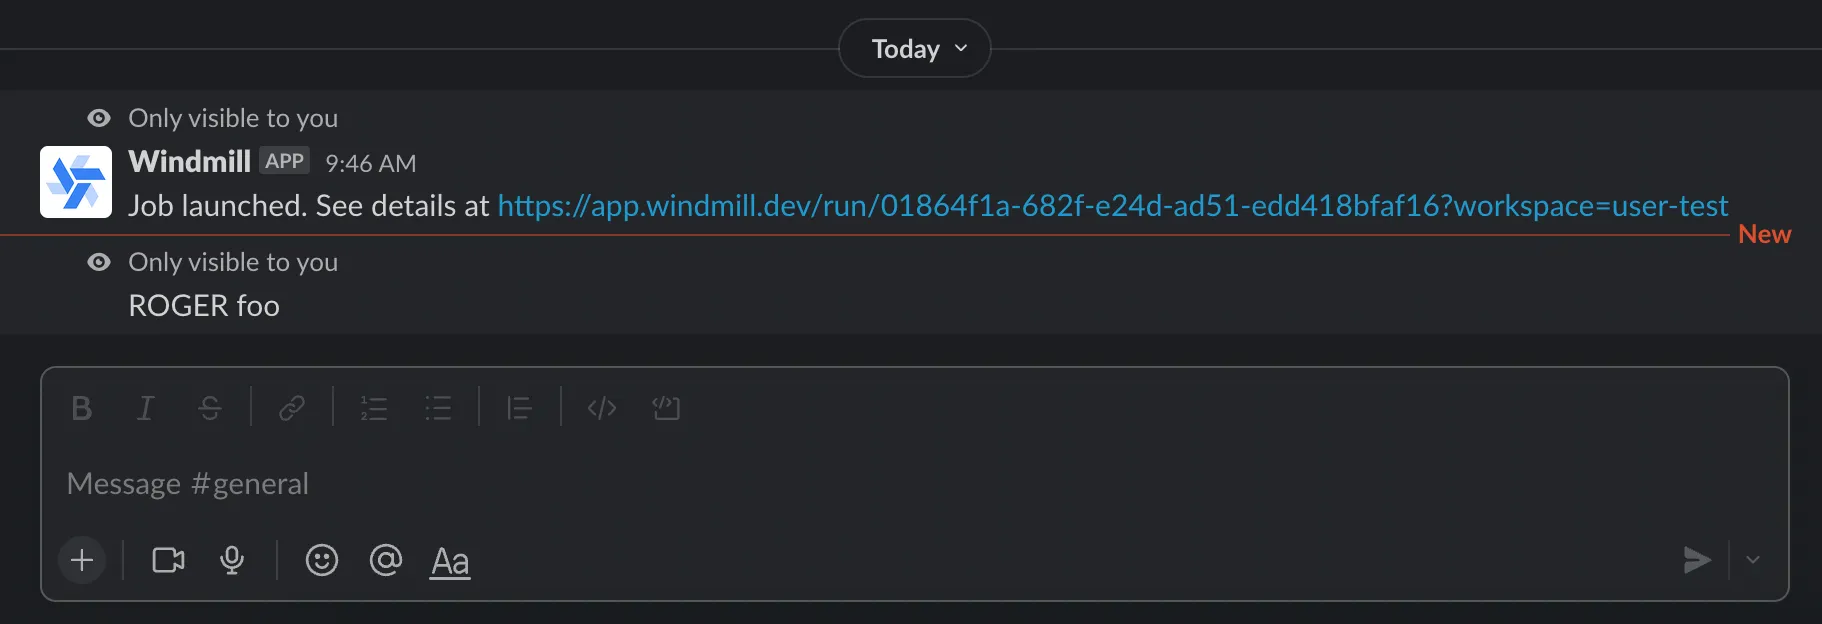
out with /windmill foo and you should get back ROGER foo. Go ahead and
customize the Script to your needs.
In addition to response_url, the script/flow can use the following parameters, simply by having them as inputs with the proper name:
channel_id
user_name
user_id
command
trigger_id
api_app_id
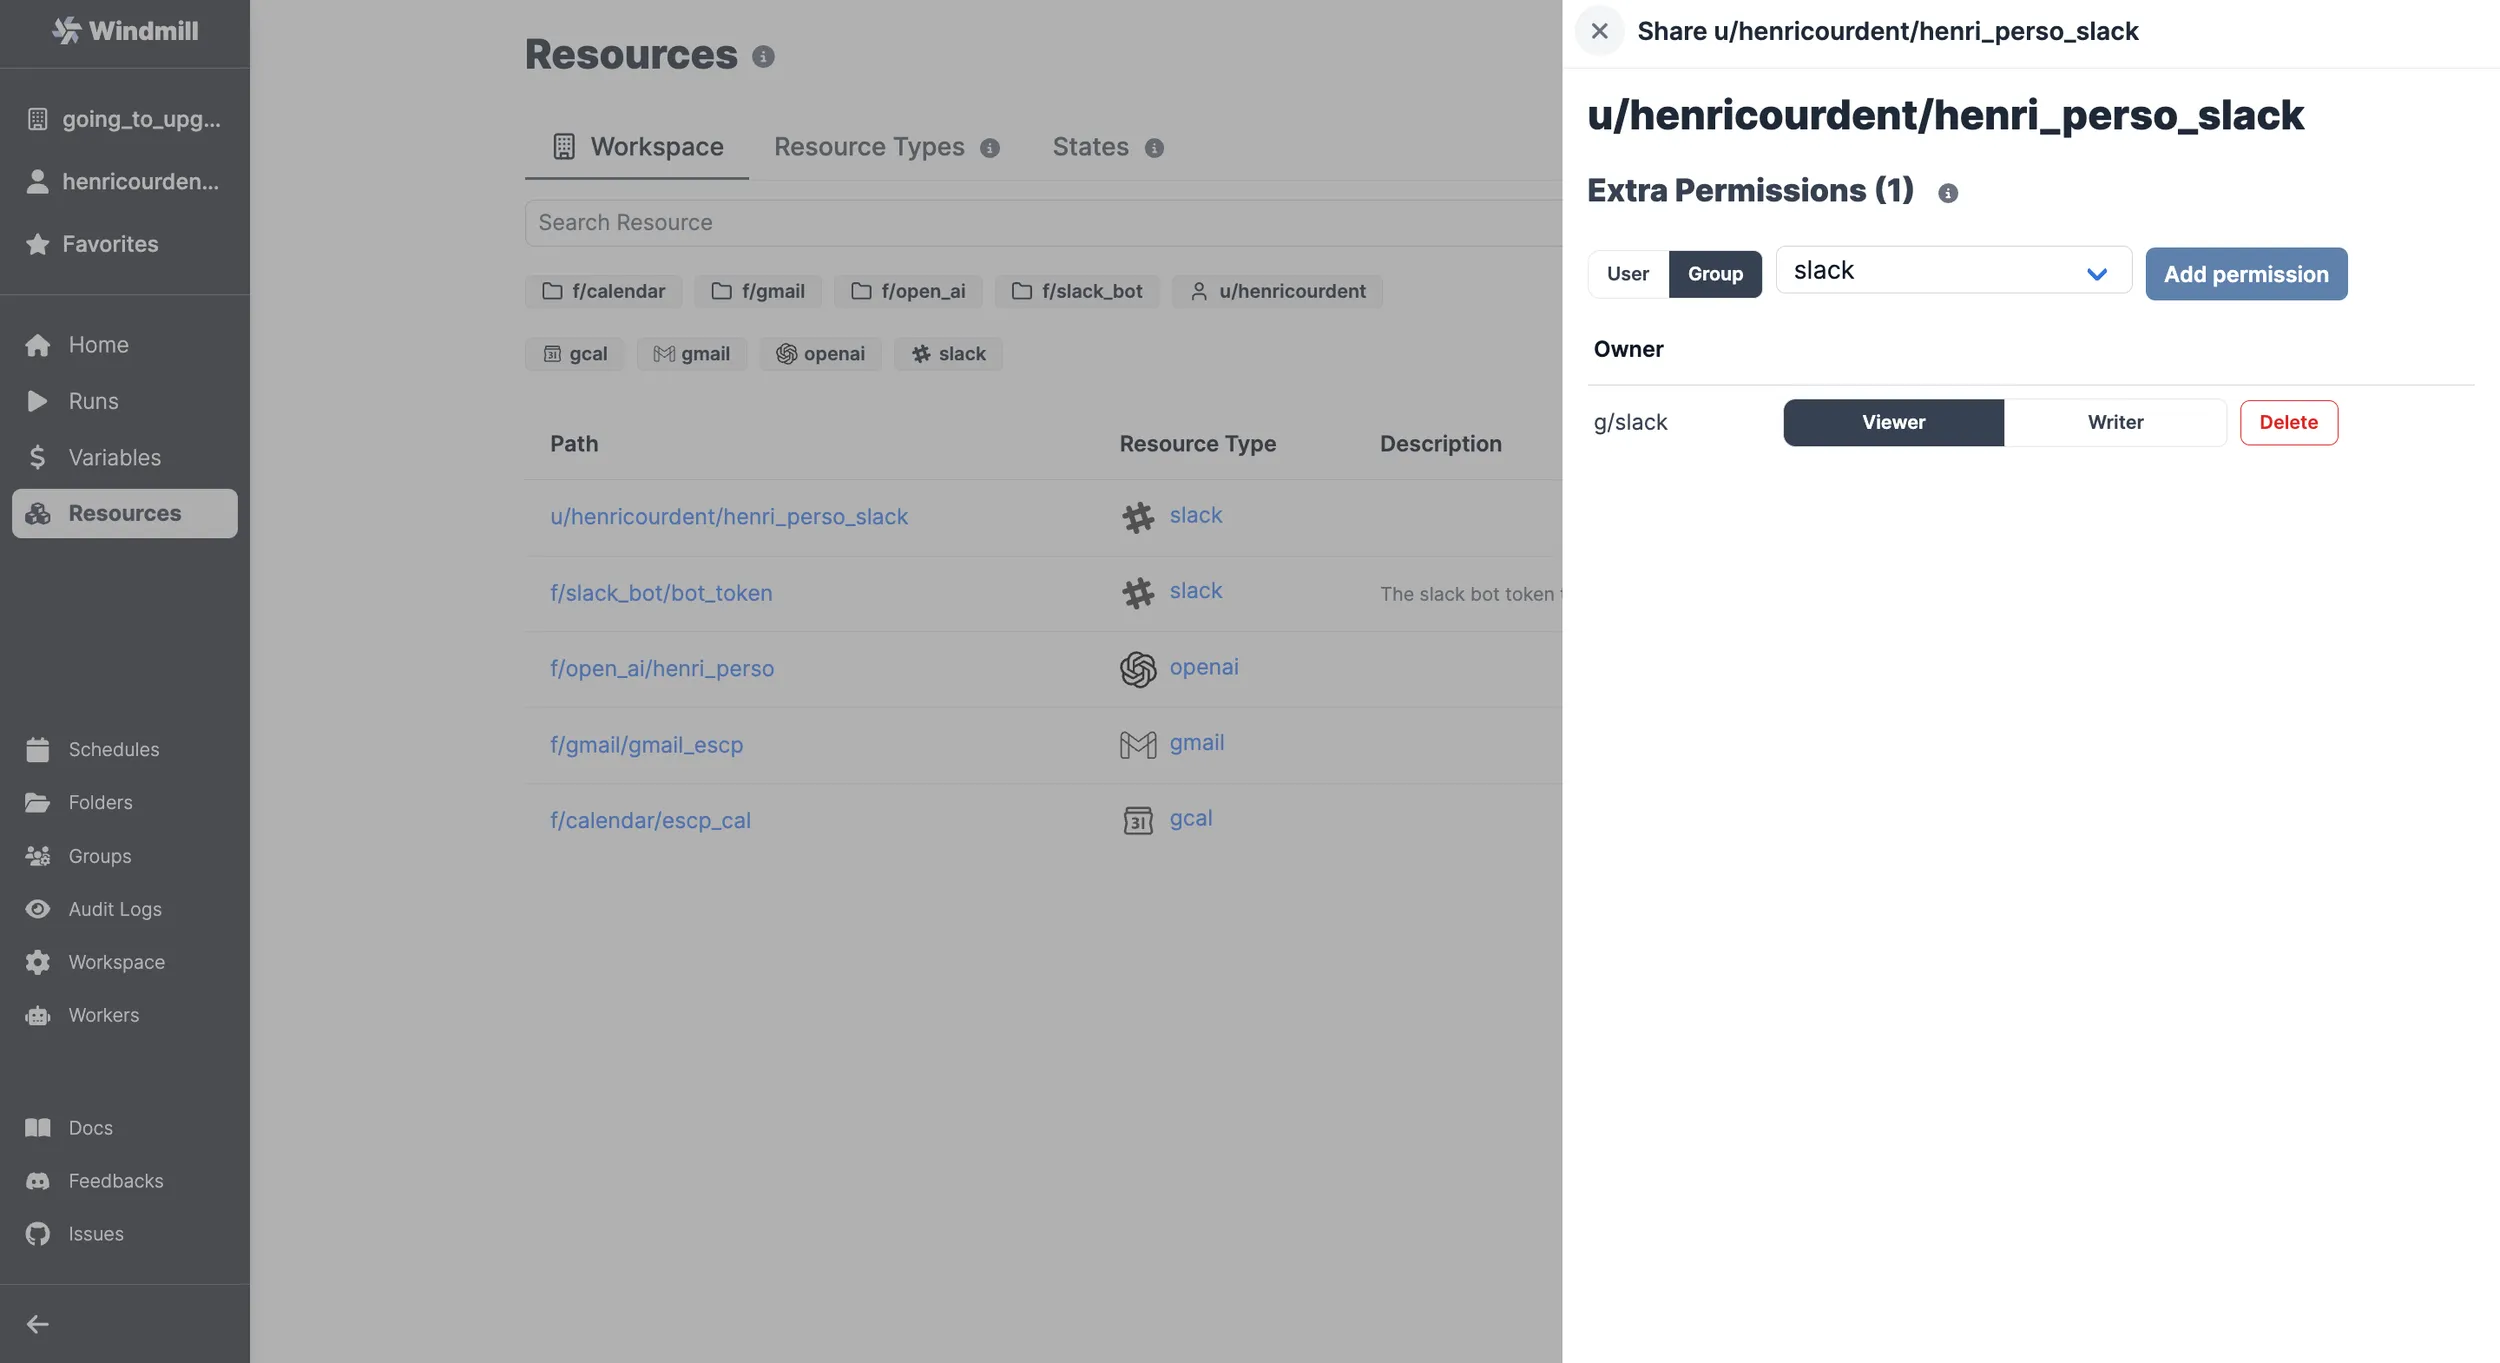
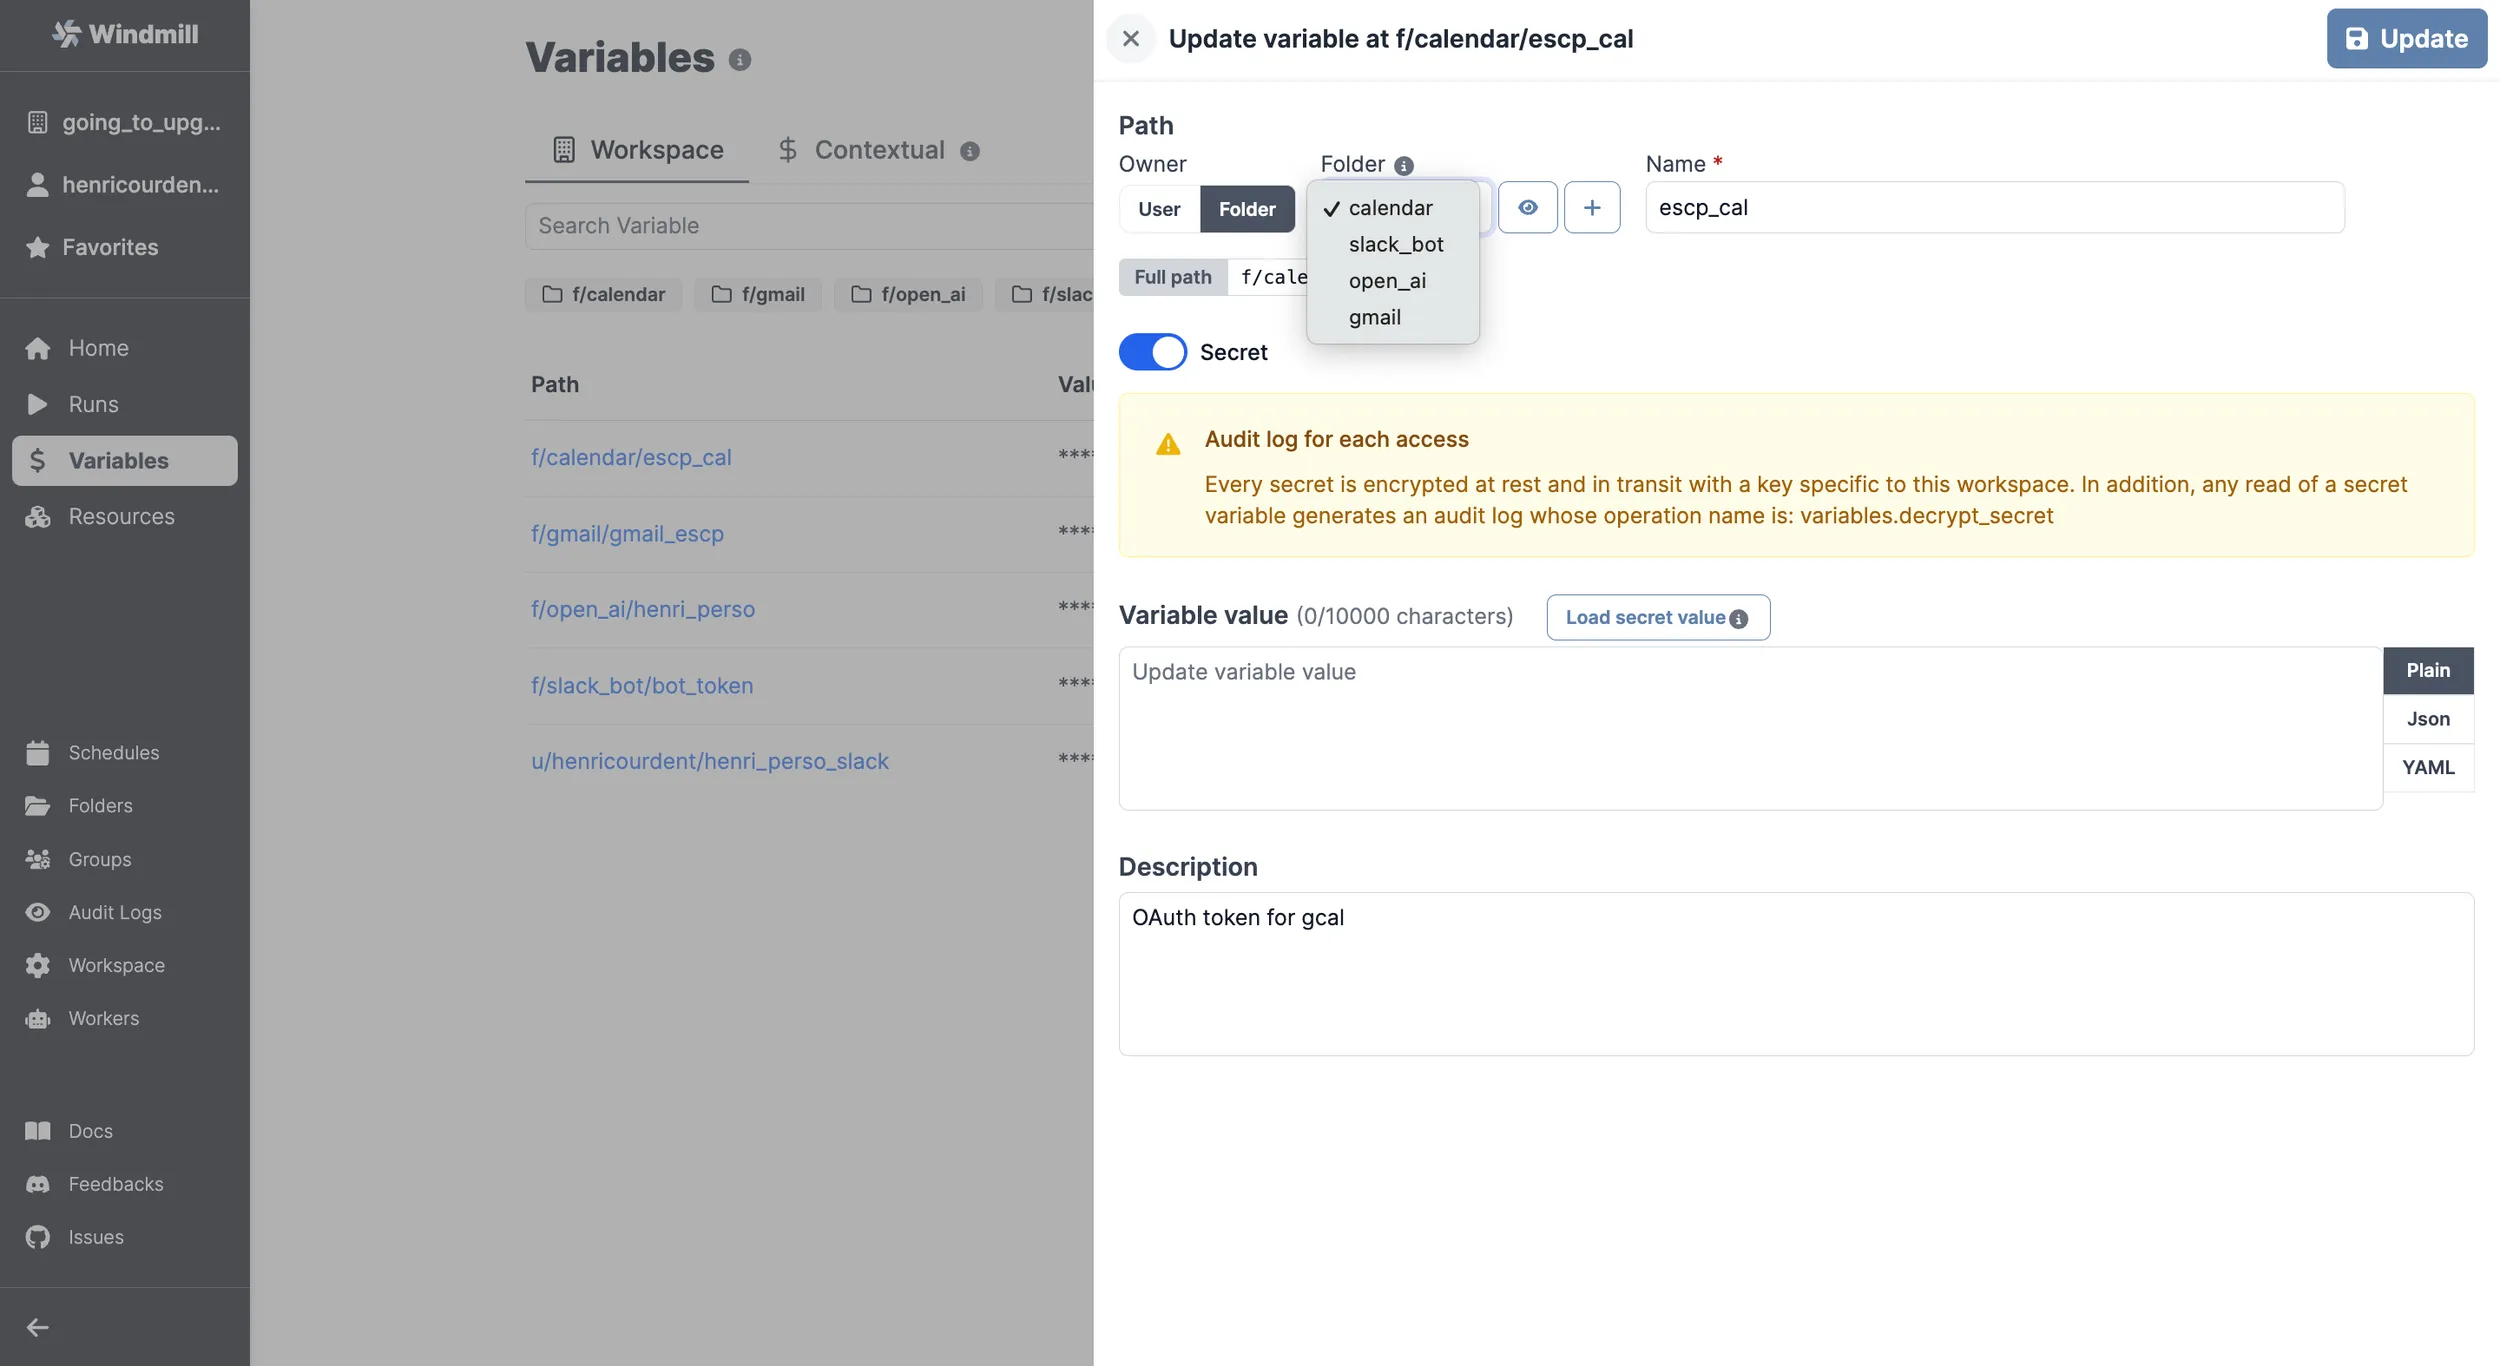
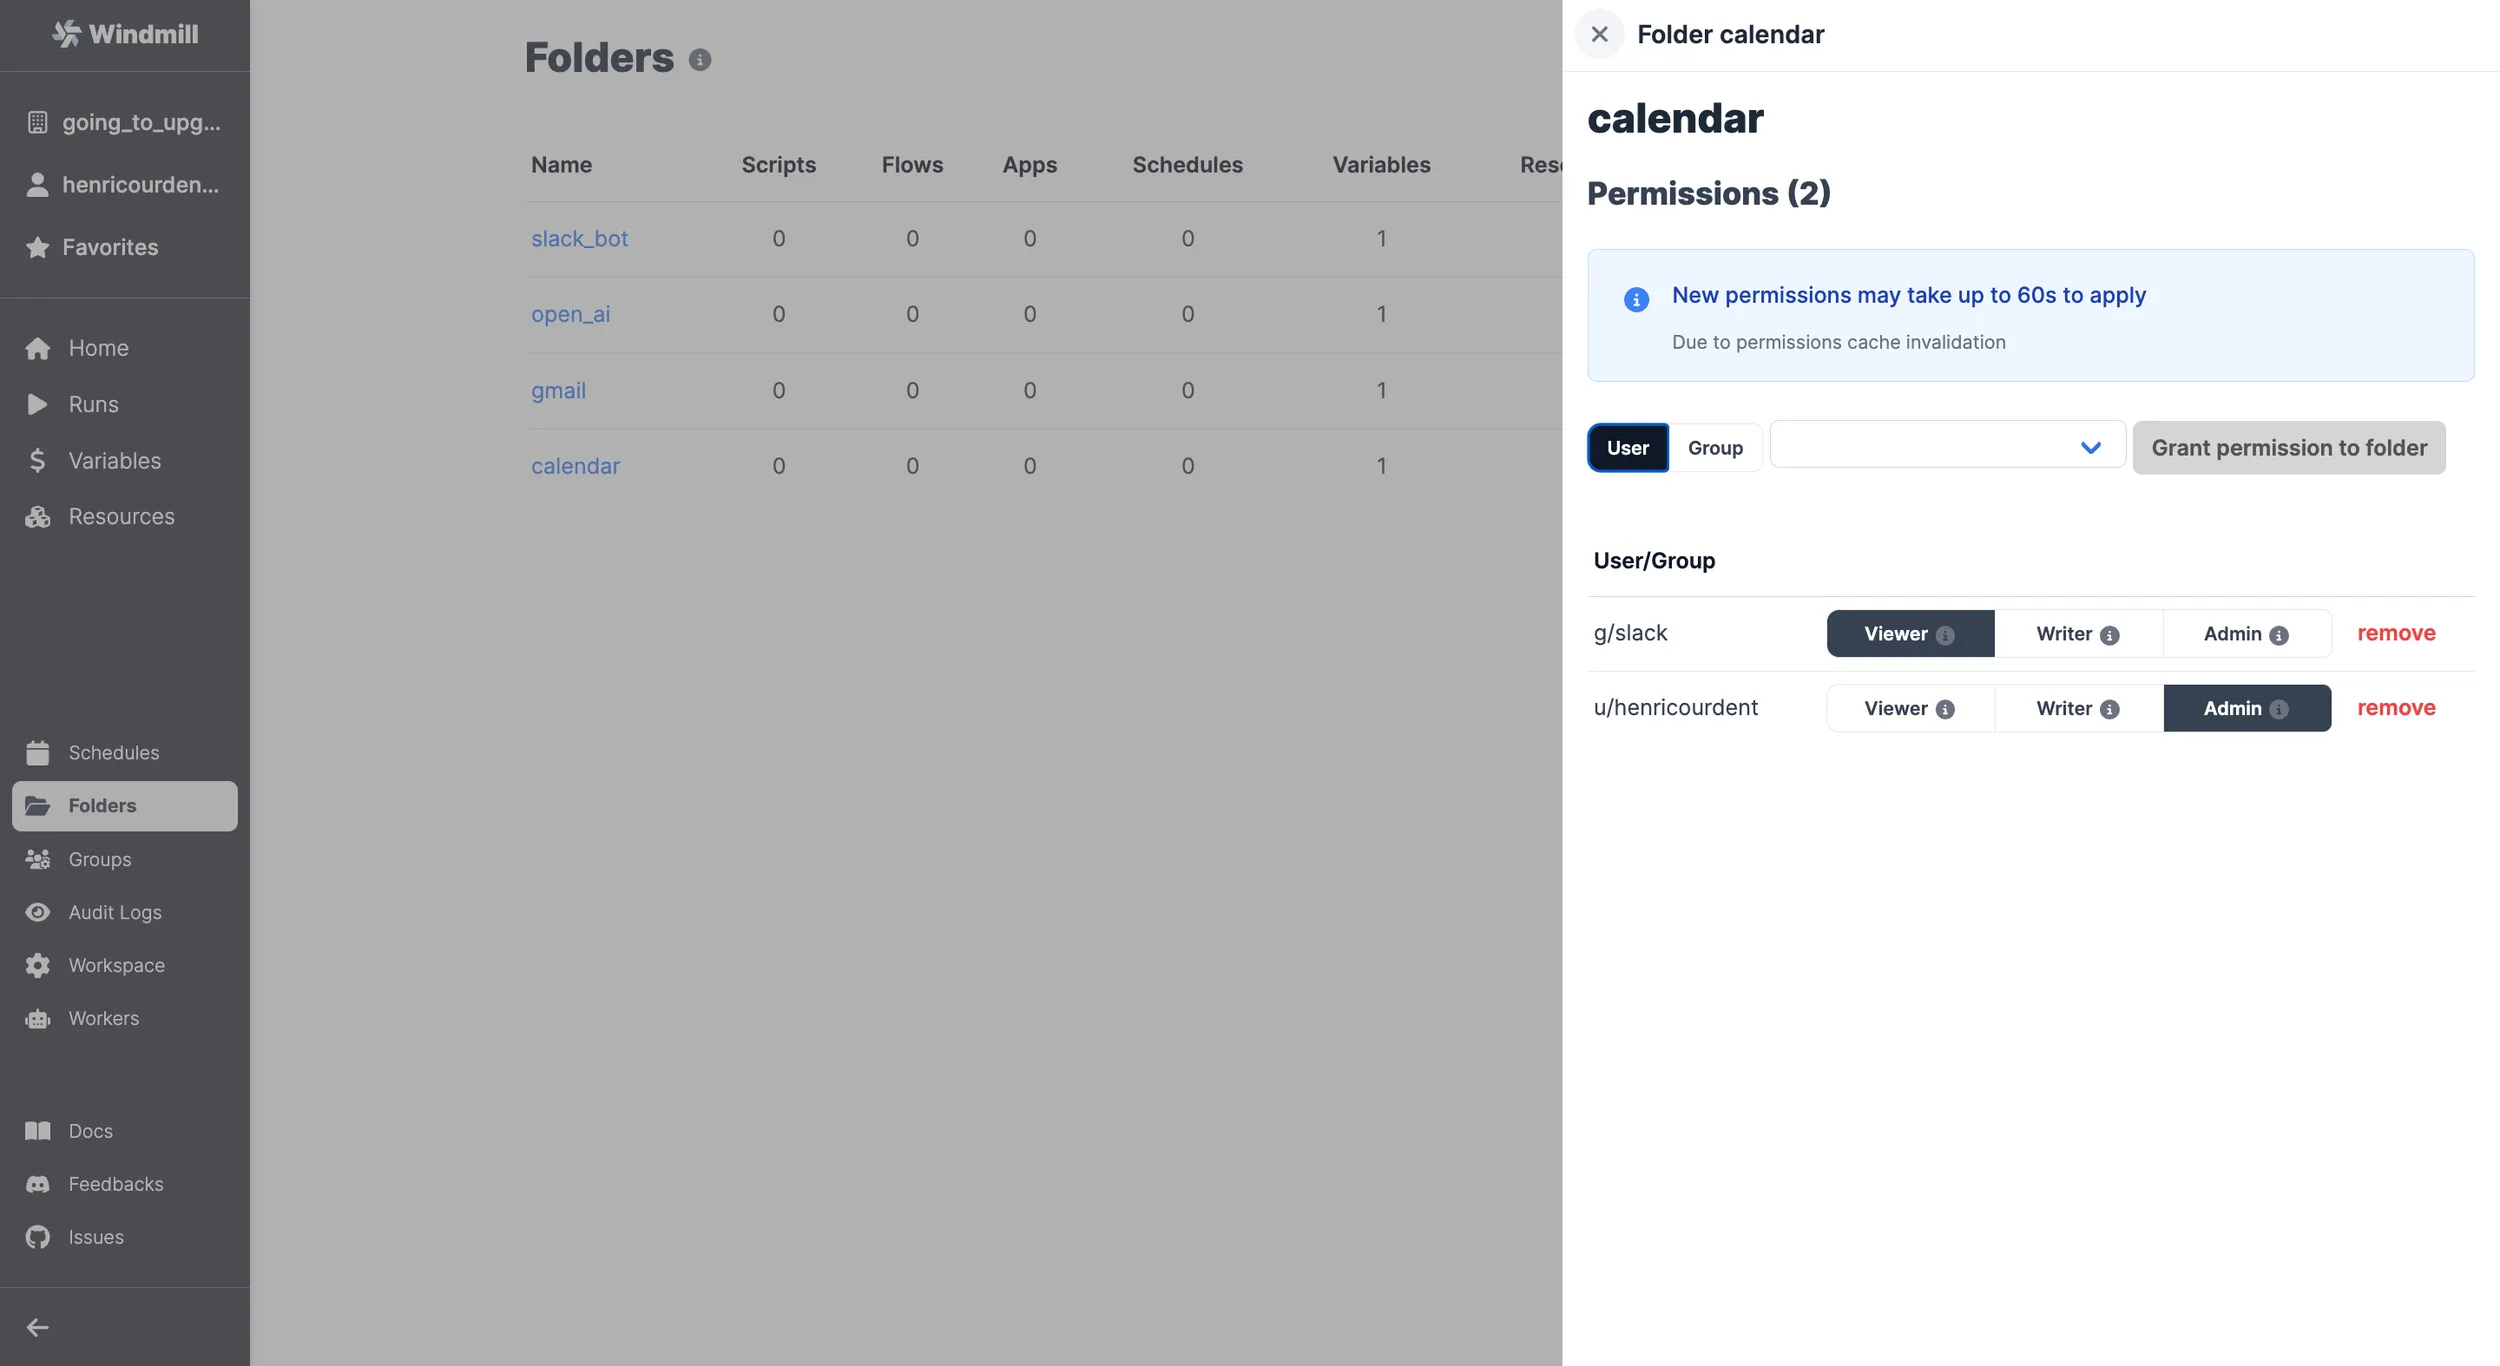
You won't be able to have Slack interact with your resources and variables before adding them to the slack group that was automatically created by Windmill after you set up your Slack workspace on Windmill. Tutorial below.
How to let Slack use your resources and variables:
Handle multiple commands
We cover in a subsequent article how to manage multiple commands & human-in-the-loop steps from your slackbot using branches, a text parser and approval steps.
Monitor who ran the command
You can see who ran the /windmill command by going to the
Runs page
on Windmill. The runs will be permissioned through the g/slack global group.
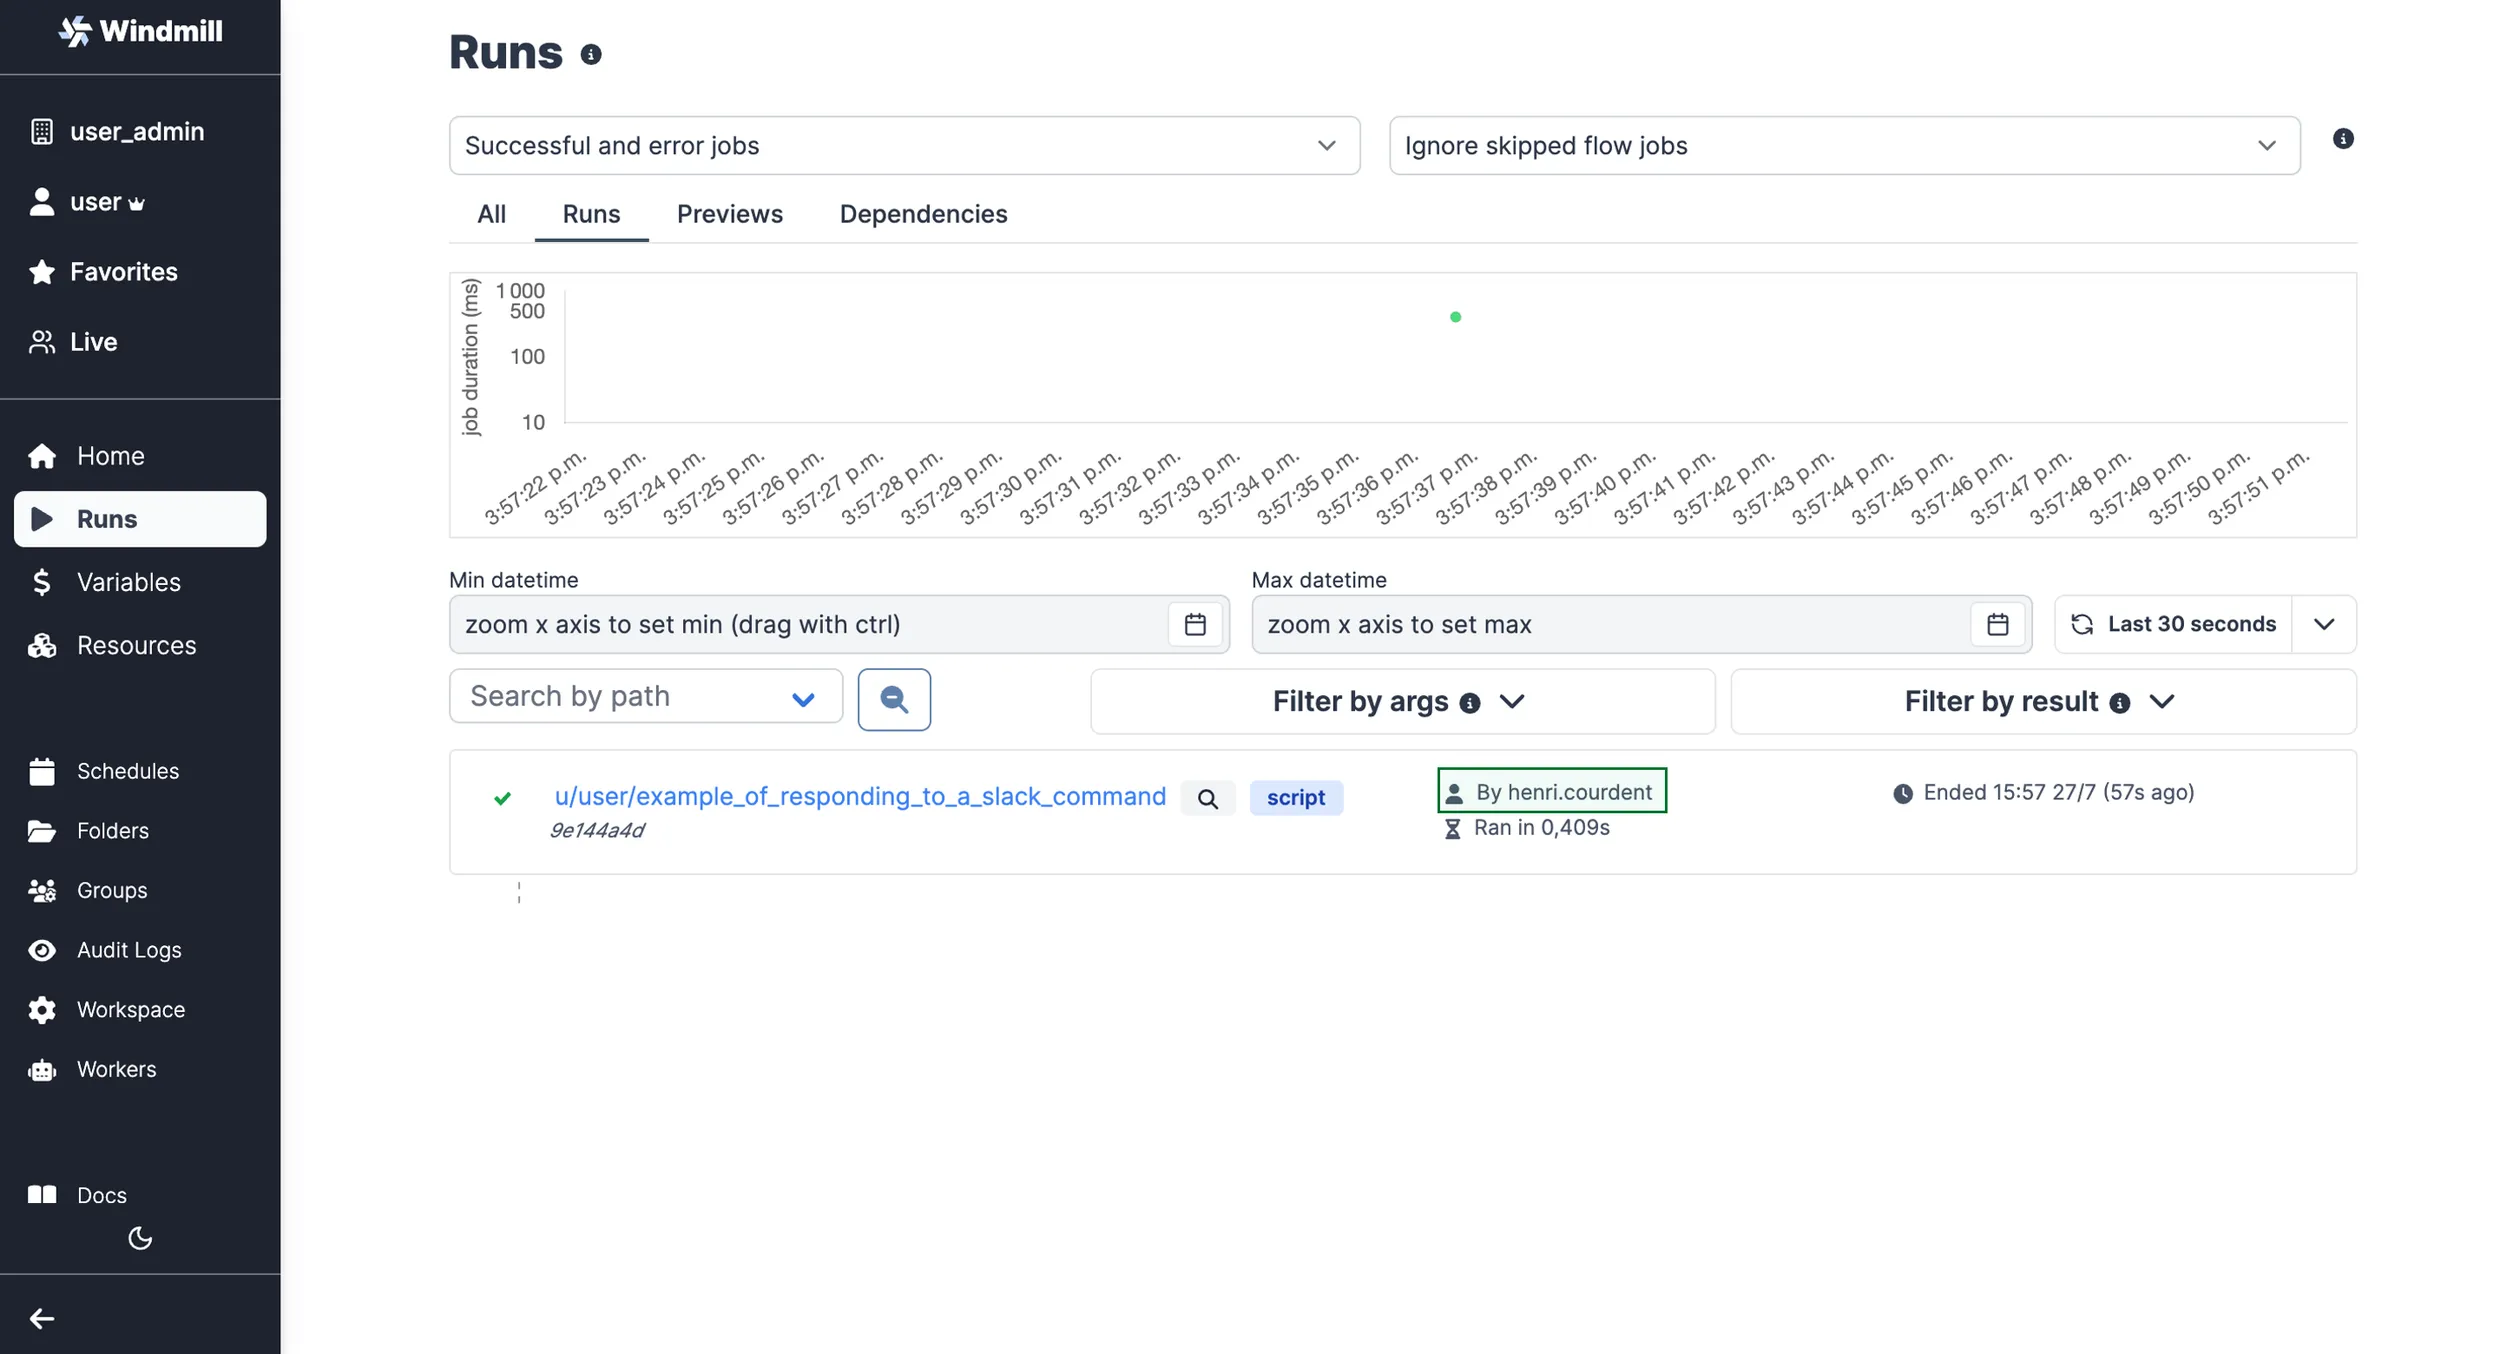
You can also monitor and permission it from within the script leveraging the contextual variable WM_USERNAME that will get the value of the Slack user.
For example our script:
export async function main(response_url: string, text: string) {
	const x = await fetch(response_url, {
		method: 'POST',
		body: JSON.stringify({ text: `ROGER ${text}` })
	});
	// This part:
	const username = await Deno.env.get('WM_USERNAME');
	console.log(`user = ${username}`);
}
will console.log user = username, username being the Slack username.
Action on Slack from Windmill
The second way to make Slack and Windmill interact is through scripts triggered from Windmill to the Slack API. In other words, our goal here is to allow Windmill Scripts acting on Slack on your behalf.
Lets navigate to the Resources page page and click "Add a resource/API".
You can read more about Resources in the documentation here.
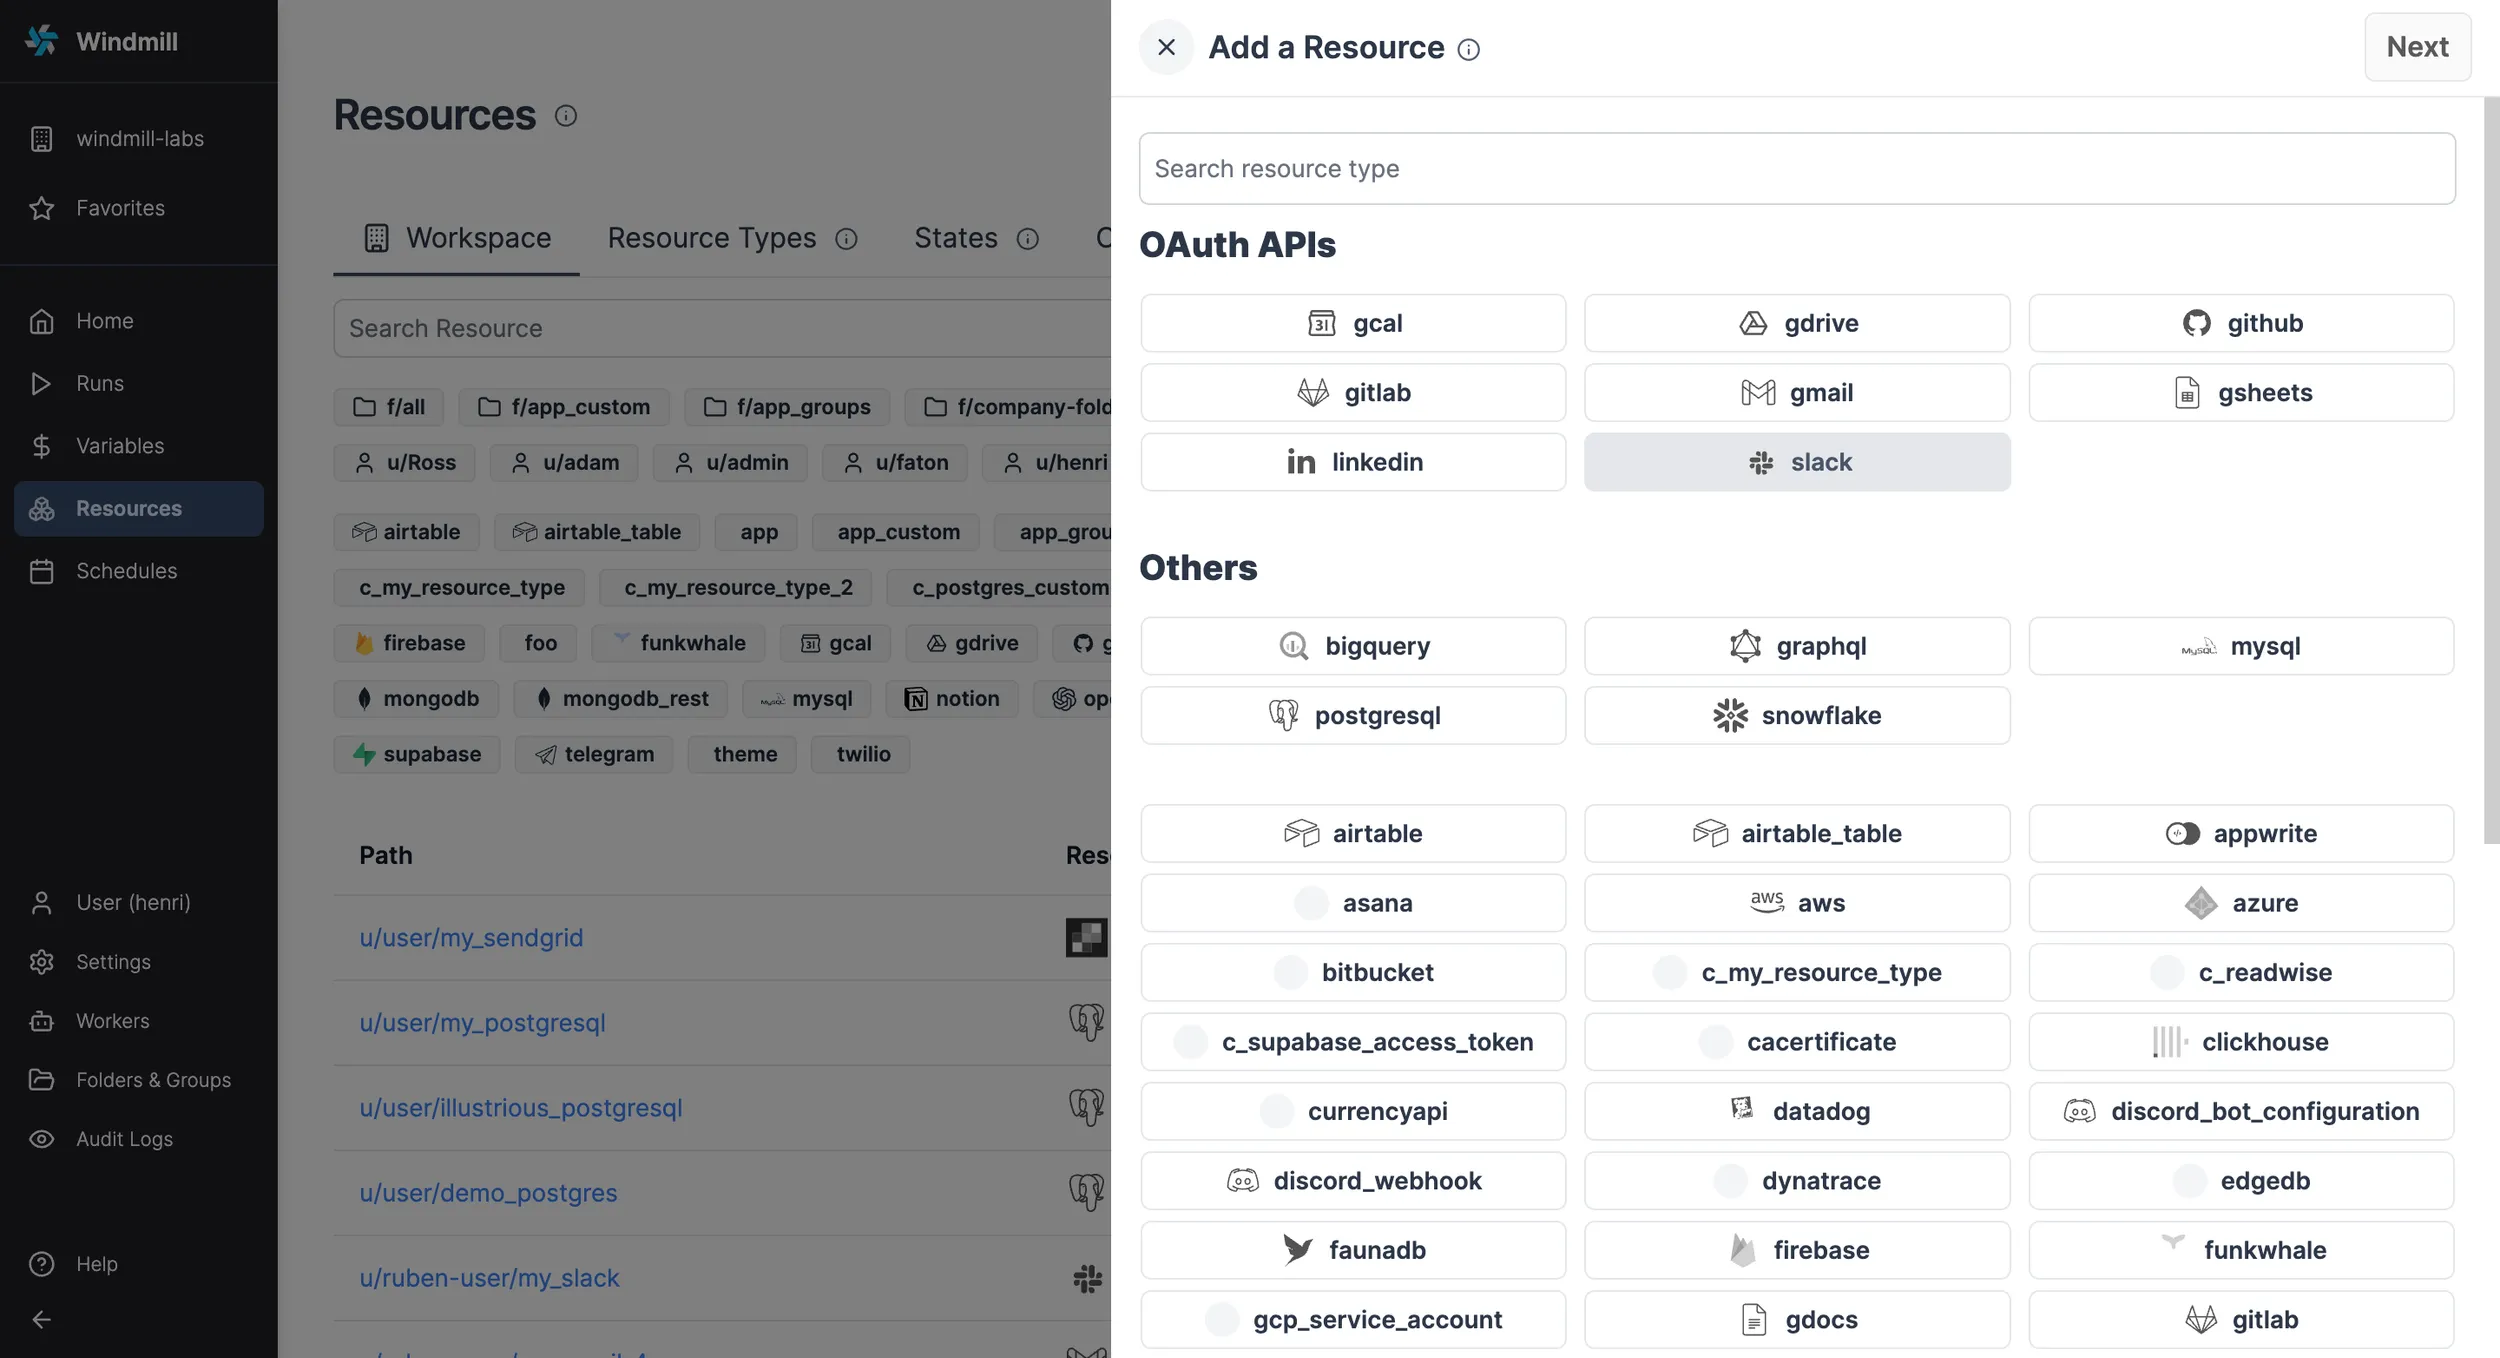
Select the slack Resource Type from the "OAuth APIs" list and by clicking
"Connect", you will be redirected to the Slack account associated with your browser. Click "Allow" to let
Windmill access your Slack workspace. Once that's done, you will be redirected
back to Windmill, where you can name your Slack Resource and Save it.
On self-hosted instances, integrating an OAuth API will require Setup OAuth and SSO.
Your connection is made! Now you can trigger the Slack API from Windmill.
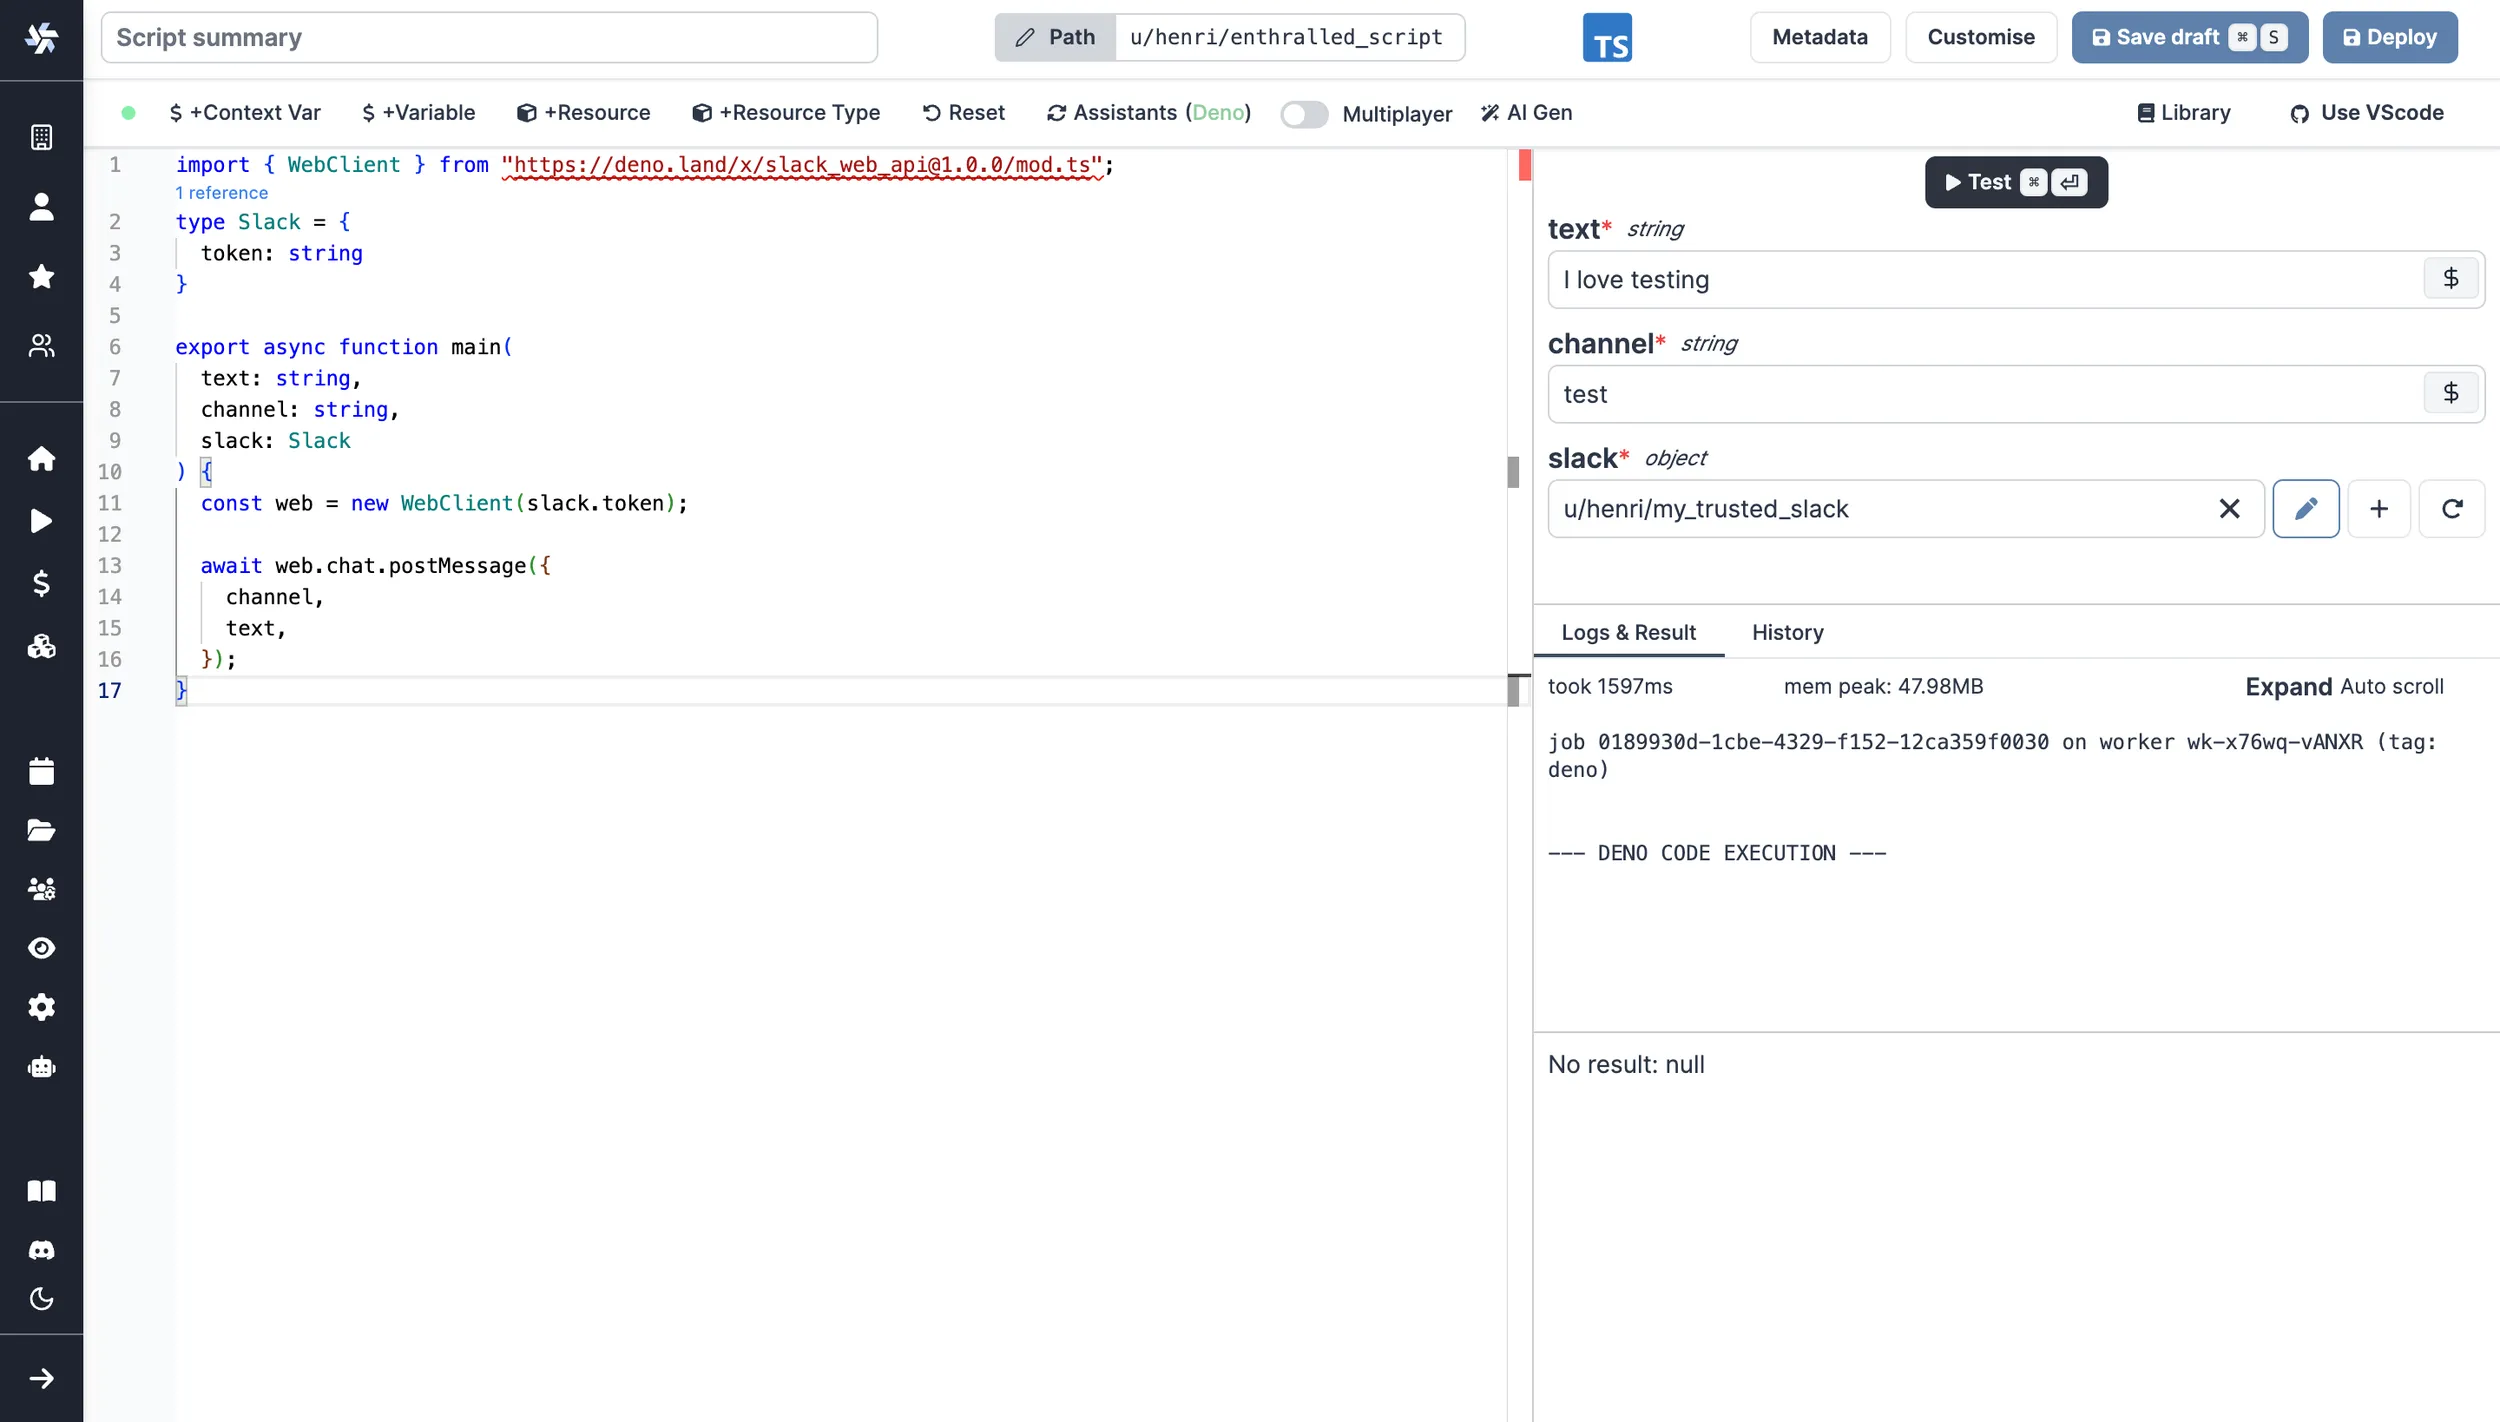
For example, try this script to send a message to a channel.
import { WebClient } from 'https://deno.land/x/slack_web_api@1.0.0/mod.ts';
type Slack = {
	token: string;
};

export async function main(text: string, channel: string, slack: Slack) {
	const web = new WebClient(slack.token);

	await web.chat.postMessage({
		channel,
		text
	});
}
Have messages published on Windmill's behalf
Using the resource created above, Slack will behave on your behalf (under your name).
To have messages published on Windmill's behalf, use the Slack resource created in the Action on Windmill from Slack section.
Also, explore more Slack scripts, flows and apps on Windmill Hub.
Error Handlers
Slack is an efficient way to be notified of errors on a Windmill run, whole workspace or instance. Windmill provides an integration for error handling on Slack.
More details on Error Handling page.
